Hiking blisters can ruin a good time — fast. Before you head out on your next adventure, learn how to treat (and hopefully avoid) hiking blisters so that you can focus on enjoying the outdoors.
I’ve had blisters before but I never really took them seriously… Until the one time where the blisters were so incapacitating that I wasn’t sure if I would make it back to the car.
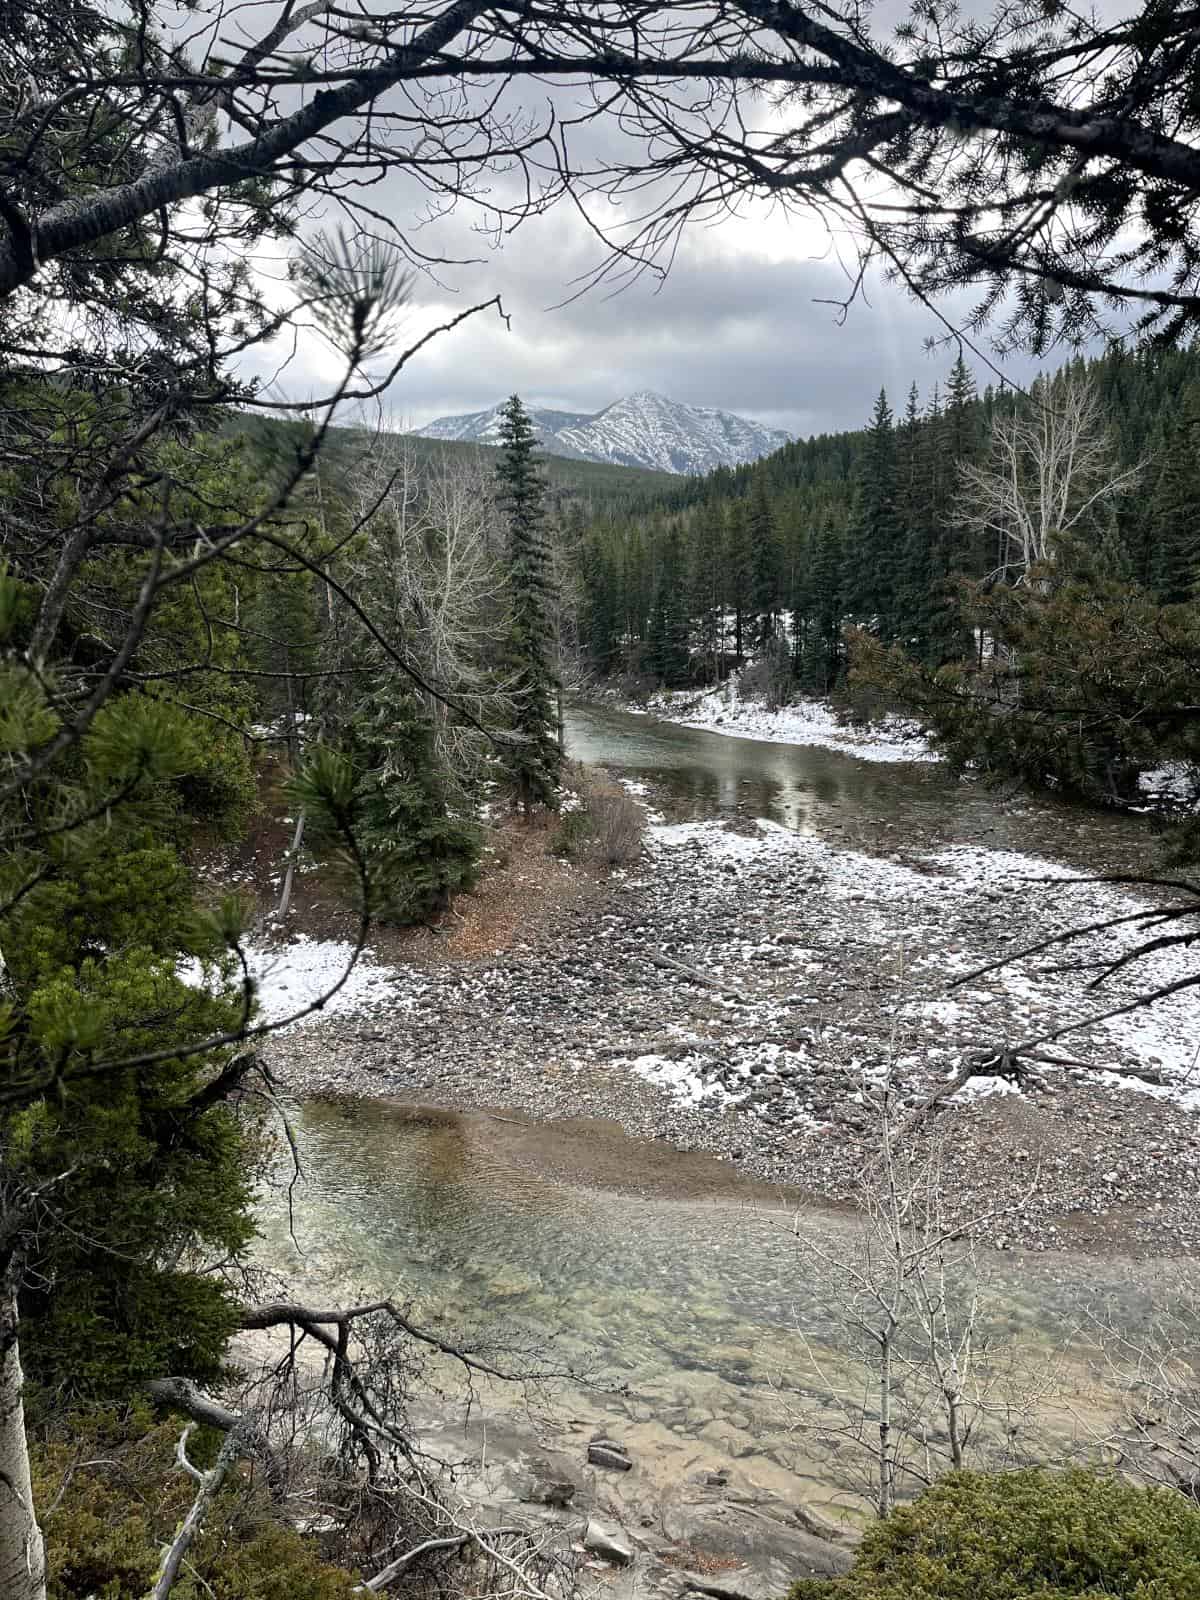
My favorite place in the world is The Beach. Surrounded by forest, a small pebble beach is formed by one of the winds in the South Castle River — The Beach. You would think that the most beautiful place in the world would be more than a 30 minute trek from the parking lot, but you’d be surprised.
You’d also be surprised (actually probably not) that this location sets the stage for my traumatic blister experience.
I had been hiking earlier in the week and my hiking socks were shoved in a bag somewhere. But I did have clean ankle socks! (Yep, you can see where this is going…) The Beach isn’t very far and I was just going there to eat my lunch; I thought I would be fine walking there and back wearing ankle socks in my hiking boots.
I am sure you can imagine what happens next. I start to feel discomfort but I push it because I am hungry. It turns into a blister and now I might be stuck in the forest forever.
Luckily, I was carrying a first aid kit in my backpack, which is the only reason that I made it back to my car. The part that gets me is that I had so many chances to prevent the hiking blisters but I let it get so bad that it was excruciating.
Even luckier still, I learned this lesson 30 minutes from my car. What would have happened if I was three hours from my car? Three days?
What causes hiking blisters?
Friction causes hiking blisters. Major culprits of friction are boots that are too tight or too loose, and socks that won’t stay up in your boot. Putting your boots on with dirty feet or hiking with crud (little rocks, pieces of twigs, sand, etc.) in your boots increases your chances of blisters because now there are more things in your boots that can cause friction.
Excess moisture and heat exacerbate hiking blisters. These factors make your skin more fragile, which increases their susceptibility to friction and the likelihood of developing a blister.
How do you prevent hiking blisters?
You have two options when it comes to preventing blisters: either you avoid them entirely or you deal with them immediately.
Some of the things you can do to prevent hiking blisters:
- Wear hiking boots that fit properly
- Choose the right socks — they should stay up in your boot and wick moisture
- Don’t hike with dirty feet
- When you get crap in your boots, clean it out as soon as possible
- Be extra mindful of discomfort when your feet are sweaty or wet
- Carry an extra pair of dry socks
- Take breaks with your boots off to cool and dry your feet
- If there are places where your boots rub regularly, or if there are areas that seem to be more prone to blisters, you can tape them preemptively
If you start to experience any discomfort, STOP IMMEDIATELY AND DEAL WITH IT.
How to tie your hiking boots to avoid blisters
Adjusting your laces can help to prevent hiking blisters. This article outlines three lacing variations that can improve the fit of your hiking boots:
- Surgeon’s Knot — prevents heel slips
- Window Lacing — reduces pressure on the top of the foot
- Toe-Relief Lacing — reduces pressure on the toes
A quick note on toenails…
Since we are already talking about feet, make sure to cut your toenails before you go hiking. This has nothing to do with blisters — it’s just painful if they press into front of your boots.
Treating blisters on the trail
Even if it isn’t from wearing ankle socks in your boots, there will still be times where you aren’t able to outright prevent the hiking blisters. In this case, you will be much better off if you deal with the hot spots before they turn into a bigger issue.
Hot spots
A hot spot is a pre-blister — but you can still avoid a full blown blister. The skin will be sensitive (and likely red). When you touch the area, the skin might feel hot.
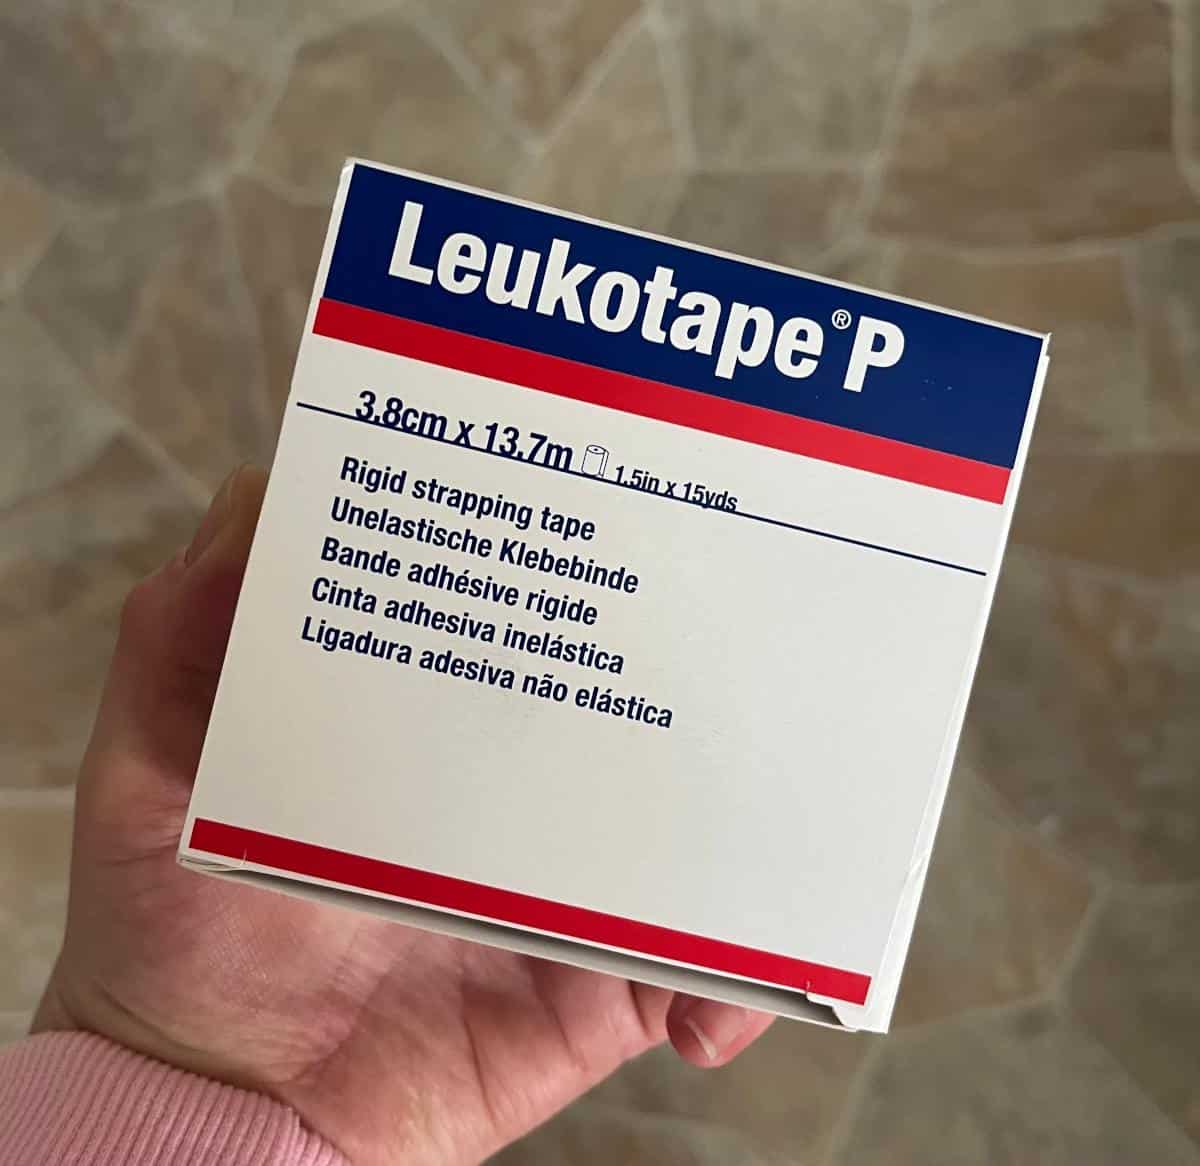
The nice thing is that you caught it early, and at this stage it is still easy to deal with. Make sure the skin is dry and then cover the affected area with moleskin, a band aid, duct tape, or whatever you have that can protect the skin from whatever was rubbing against it. I have started carrying Leukotape (a sports tape) for hot spots (as opposed to moleskin) because it seems to stick the best and still works when wet.
There are two types of Leukotape: Leukotape K and Leukotape P. I couldn’t tell you the difference, but you want Leukotape P.
If possible, try to address whatever caused the blister in the first place (e.g., a clump of gritty mud that was kicked up into your boot). Do whatever you can to reduce any additional friction.
Blisters
You’ve reached the blister stage when the area starts to fill with fluid. If you get to this stage — I am sorry.
It is best if you can avoid popping your blister. However, if it becomes too large or painful, you might not have any other choices. Most first aid kits will have a safety pin, and you can use this (after cleaning it with an alcohol wipe) to drain the blister. Clean the skin around the blister and then poke a hole at the base of the blister to allow it to drain. Try to keep the skin attached so that it can provide a bit of protection to the damaged tissue underneath. Clean the skin again and cover with Polysporin.
If you were able to avoid draining the blister, you’ll still want to clean the skin around it and cover with Polysporin.
Once you are all Polysporin’d up, you need to bandage the blister. A popular method is the “donut” — fold a piece of moleskin in half and cut a semicircle along the folded edge so that it looks like a donut when it is unfolded. Place the moleskin so that it surrounds the blister, cover with a piece of gauze, and then completely tape over everything to seal it off and hold it all in place.
If you needed to get by, you could always cover the blister with a band aid and then tape the band aid in place so that it doesn’t rub on the blister as much.
Once you are all bandaged up, be sure to clean the wound and change the dressing at least once a day (or more if it becomes soiled).
Aftercare for hiking blisters
The best way to heal a blister is by giving it space. You’ll heal faster if you can take it easy for a few days and avoid rubbing the blister. Polysporin can help speed up the healing process and reduce your chances of infection.
You don’t need to cover your blisters but you can if you want. A band aid is always nice for preventing unwanted friction as everything heals.
Keep an eye out for infection. Go see your doctor if you notice that the skin around the blister feels hot and looks red, if you start to see pus, or if the pain gets worse.
I hope this helps you keep you feet adventure-ready! What was your worst experience with blisters and what did you have to do to make it home?

Leave a Reply